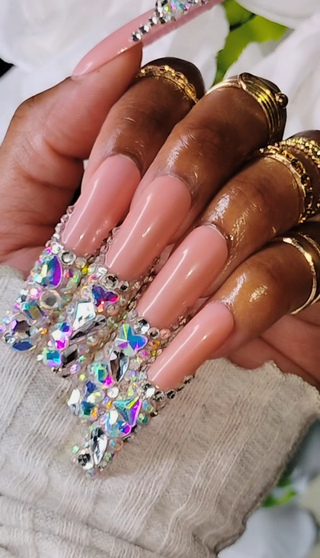
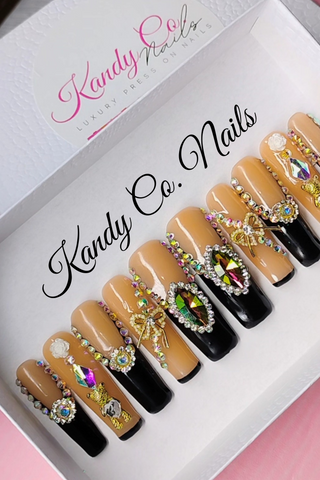
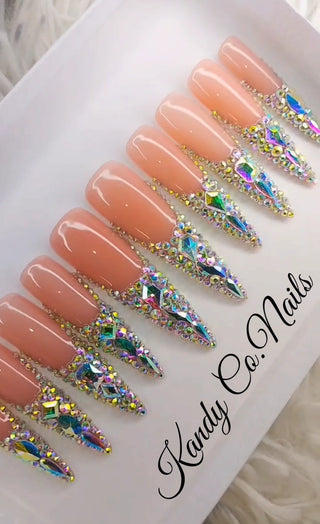
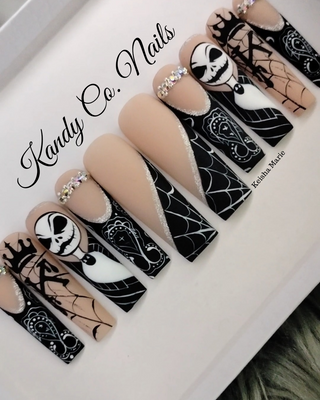
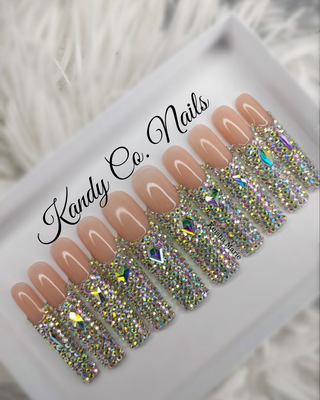
These black and nude luxury bling nails are perfect for adding a touch of elegance to your look this holiday season. Made with high-quality acrylic and carefully handmade, each nail features a stunning bling charm detail. With a classic color combination, these nails will elevate any outfit with a touch of luxury.
Hello there! I'm Keisha, your go-to guru for all things press-on nails. With my expertise and passion for nail art, I strive to bring you the latest trends and most stylish designs. Whether you're new to press-on nails or a seasoned pro, I'm here to make your nail journey a breeze. Let's add a pop of glam to your fingertips and take your nail game to the next level!
1. Start by cleaning and gently buffing your natural nails to create a smooth surface.
2. Match each press-on nail to the corresponding natural nail, ensuring a proper fit for each one.
3. Apply a small amount of nail glue to the back of the press-on nail.
4. Press the nail firmly onto your natural nail, holding it in place for a few seconds to allow the glue to set.
5. Repeat this process for each nail, making sure to press them down securely.
6. Once all the press-on nails are in place, you can further customize and shape them if needed.
Measuring your nail beds is a simple process that can help you find the right size for press-on nails. Here's a step-by-step guide to measuring your nail beds accurately:
1. Gather the necessary tools: You'll need a flexible measuring tape or a ruler, a pen or pencil, and a piece of paper.
2. Prepare your nails: Ensure that your nails are clean and free from any polish or nail enhancements. This will provide an accurate measurement.
3. Start with your dominant hand: Begin by focusing on one hand at a time. It's usually easier to measure your dominant hand first.
4. Measure the width: Take the measuring tape or ruler and place it horizontally across the widest part of your nail bed. This is typically the area where your natural nail ends and the skin begins. Make a note of the measurement in millimeters or inches.
5. Measure the length: Position the measuring tape or ruler vertically along the center of your nail bed, starting from the cuticle and extending to the free edge. Again, record the measurement in millimeters or inches.
6. Repeat for each finger: Repeat steps 4 and 5 for each finger on your dominant hand, ensuring you measure both the width and length accurately.
7. Repeat for the other hand: Once you have measured your dominant hand, repeat steps 4 to 6 for your non-dominant hand. It's important to measure both hands as they may have slight variations in size.
8. Note down the measurements: Write down the width and length measurements for each finger on a piece of paper. This will help you remember the sizes when selecting press-on nails or nail enhancements.
By following these steps, you can accurately measure your nail beds and find the perfect fit for your press-on nails. Remember to measure both hands and record the measurements for each finger to ensure a precise fit.
Checkout Now To Get 40% Off Use Code BF40
Adding product to your cart
You may also like
These black and nude luxury bling nails are perfect for adding a touch of elegance to your look this holiday season. Made with high-quality acrylic and carefully handmade, each nail features a stunning bling charm detail. With a classic color combination, these nails will elevate any outfit with a touch of luxury.
Hello there! I'm Keisha, your go-to guru for all things press-on nails. With my expertise and passion for nail art, I strive to bring you the latest trends and most stylish designs. Whether you're new to press-on nails or a seasoned pro, I'm here to make your nail journey a breeze. Let's add a pop of glam to your fingertips and take your nail game to the next level!
1. Start by cleaning and gently buffing your natural nails to create a smooth surface.
2. Match each press-on nail to the corresponding natural nail, ensuring a proper fit for each one.
3. Apply a small amount of nail glue to the back of the press-on nail.
4. Press the nail firmly onto your natural nail, holding it in place for a few seconds to allow the glue to set.
5. Repeat this process for each nail, making sure to press them down securely.
6. Once all the press-on nails are in place, you can further customize and shape them if needed.
Measuring your nail beds is a simple process that can help you find the right size for press-on nails. Here's a step-by-step guide to measuring your nail beds accurately:
1. Gather the necessary tools: You'll need a flexible measuring tape or a ruler, a pen or pencil, and a piece of paper.
2. Prepare your nails: Ensure that your nails are clean and free from any polish or nail enhancements. This will provide an accurate measurement.
3. Start with your dominant hand: Begin by focusing on one hand at a time. It's usually easier to measure your dominant hand first.
4. Measure the width: Take the measuring tape or ruler and place it horizontally across the widest part of your nail bed. This is typically the area where your natural nail ends and the skin begins. Make a note of the measurement in millimeters or inches.
5. Measure the length: Position the measuring tape or ruler vertically along the center of your nail bed, starting from the cuticle and extending to the free edge. Again, record the measurement in millimeters or inches.
6. Repeat for each finger: Repeat steps 4 and 5 for each finger on your dominant hand, ensuring you measure both the width and length accurately.
7. Repeat for the other hand: Once you have measured your dominant hand, repeat steps 4 to 6 for your non-dominant hand. It's important to measure both hands as they may have slight variations in size.
8. Note down the measurements: Write down the width and length measurements for each finger on a piece of paper. This will help you remember the sizes when selecting press-on nails or nail enhancements.
By following these steps, you can accurately measure your nail beds and find the perfect fit for your press-on nails. Remember to measure both hands and record the measurements for each finger to ensure a precise fit.
Checkout Now To Get 40% Off Use Code BF40
You may also like
You may also like
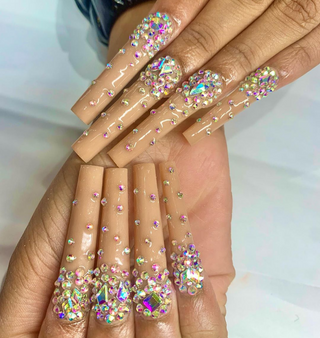
Keisha Marie
Kandy Co. Nails
Our luxury press on nails are meticulously crafted using high-quality materials, ensuring durability and a natural look. Each nail is designed to fit perfectly, providing a comfortable and secure fit that lasts for days.
Testimonials
I ordered these for my birthday & got so many compliments. No one could even tell they were Press ons thank you 😊
I love my nails. I ordered 4 sets and I can not decide which one I like the most. They are absolutely beautiful and the customer service was excellent. I tried to take the best picture to capture all the small details but my picture don't do the nails justice. All I can say is Keisha never disappoints.
Absolutely beyond expectation 😍... The nails are stunning and she sends you this whole gorgeous kit with them... I am hard to impress but this was unbelievable... She is a master at her craft! Very beautiful :)
Yes ma'am exactly what I pictured. Great quality, strength. I'm a sucker for detail on packaging and it was EXCELLENT!!!! You will be getting my business for now on. Yessssssss
Recommended products
3 Day Shipping
By completing this form, you are signing up to receive our emails and can unsubscribe at any time.

